
FAQ
Here you will find frequently asked questions and answers about Spintso products, divided by product to make it easier to find the right information. We have gathered answers to questions about features, usage, charging, compatibility, and other topics that often come up before, during, and after a match. Whether you use a communication system or a referee watch, we want to make it easy for you to quickly find clear and relevant answers. If you cannot find what you are looking for, you are always welcome to contact us at info@spintso.com.
Jump directly to product
Refcom II Pro
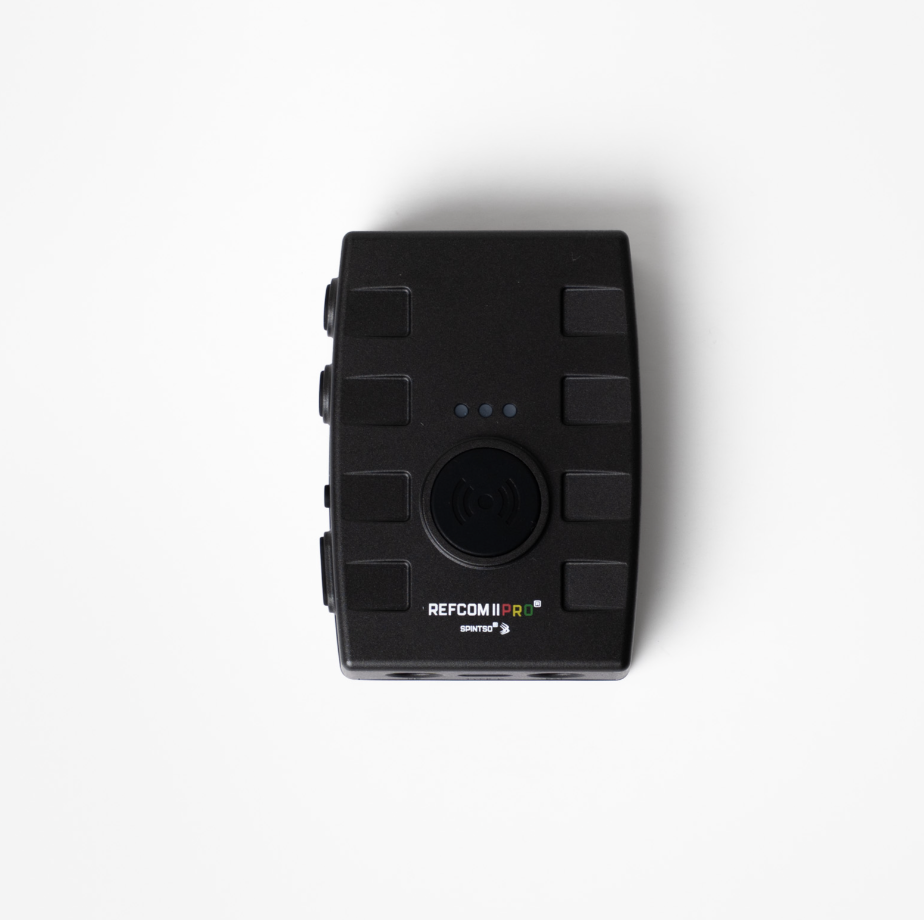
How do I start the Refcom II Pro units?
Start the units by pressing and holding both Volume Up (+ button) and Volume Down (- button) at the same time for about two seconds until the LED lights turn on. When the units start, they will automatically try to connect to the other units that have previously been paired. After a few seconds, the system should be ready to use. When the units are connected, you will hear a voice confirming the connection between the radios.
How do I connect the units the first time?
Start by connecting the headsets to each radio. Then press and hold the confirmation button (the enter button) for about six seconds on each unit until the LED lights show that they are in pairing mode. After that, go into the menu and assign each radio a number between 1 and 6, in the correct order from 1 to 6. Once all units have received their number, start the pairing by pressing and holding the confirmation button for one to two seconds on Radio 1. The system will then automatically pair all radios.
What is the difference between Default and Advanced setup?
In Default mode, all users can talk freely with each other in an open communication channel. This is common in sports such as football or rugby where the entire referee team needs to hear each other all the time. Advanced mode is often used in sports such as ice hockey where certain users need private communication channels, for example between referees and linesmen. In Advanced mode, some users can talk privately with each other or may need to use PTT to reach others in the team.
What does PTT mean and how do I use it?
PTT stands for Push-To-Talk and means that you need to hold down the PTT button when you want to speak. This is often used for users who should not speak continuously in the system, such as a coach, VAR, or speaker. When PTT is activated, the yellow LED lights up while the button is being pressed. The function can also be used to control communication to external systems such as a PA system.
What is PTM / Toggle-PTT and when can it be useful?
Toggle-PTT allows you to lock PTT so that the microphone stays open without needing to hold the button down. To activate the function, press the PTT button twice quickly. The microphone will then remain open until you press the button again. This can be useful in situations where you need both hands free, for example if a medical team or physiotherapist runs onto the field and needs to communicate while working.
A radio does not connect to the system – what can I do?
If a unit does not connect after startup, you can first check that it is within range and that all radios are switched on. If the problem continues, you can perform a new pairing between the units. Also check that each radio has a unique number in the system. When the radios are correctly paired, they will normally connect automatically every time they are started.
The sound from one user is weak or unclear – what could be the reason?
The most common reason is that the microphone is positioned incorrectly. Check that the microphone is close to the mouth and aimed toward the side where the speech is picked up. If the problem continues, you can try changing the headset to rule out a microphone issue. Also check that the earpiece is not blocked by dirt and that the volume is not set too low.
Refcom II
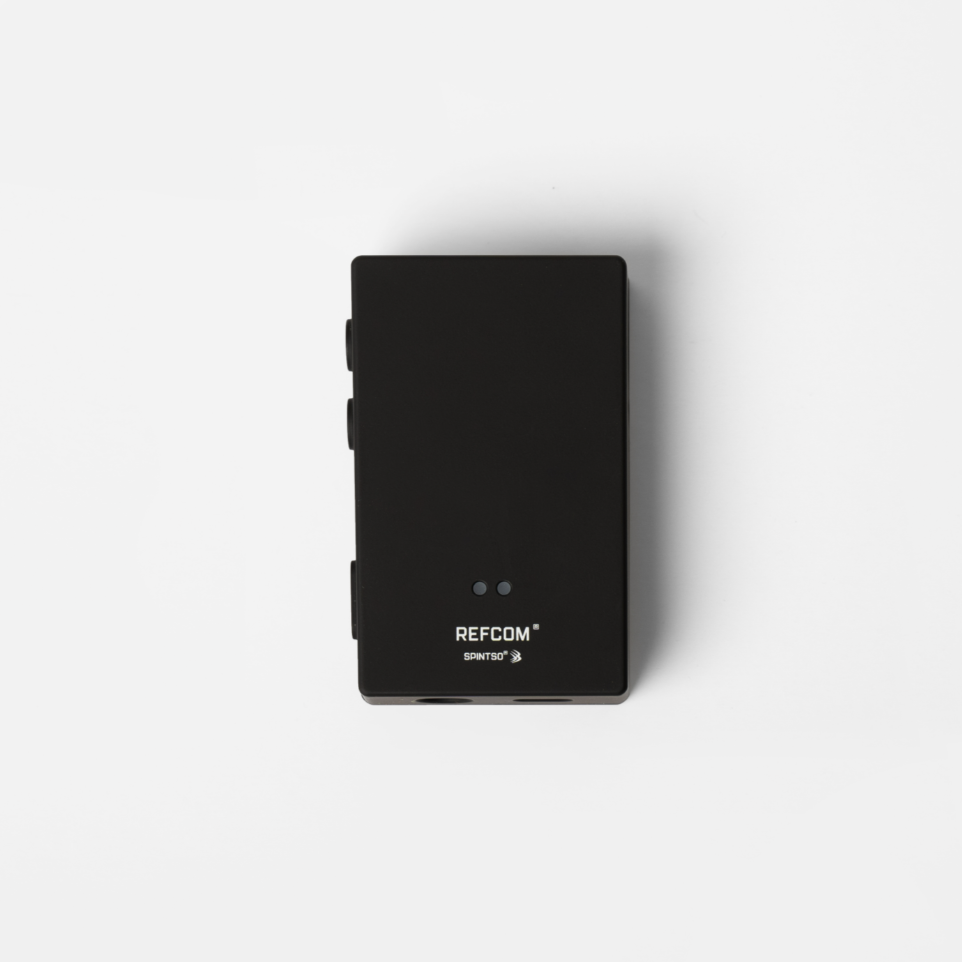
How do I start the Refcom II units?
Start the units by pressing and holding Volume Up (+ button) and Volume Down (- button) at the same time for about one second. When the units start, you will hear a voice announcing the radio number and battery status. If the units have previously been paired, they will automatically connect to each other after startup. When all radios are connected, the system is ready to use.
How do I pair the radios the first time?
To pair the system, first connect the headsets to each radio. Then press and hold the confirmation button for about six seconds on each unit to enter pairing mode. After that, go into the menu and assign each radio a unique number between 1 and 4. Once all units have received their number, start the pairing by pressing and holding the confirmation button for two seconds on Radio 1. The system will then automatically pair all radios.
How many users can use Refcom II at the same time?
Refcom II supports up to four users in the same system. All users can talk with each other in full duplex, which means communication takes place in real time without anyone needing to press a button to speak. The system is often used by referee teams in sports such as football, where the referee, assistant referees, and fourth official need to communicate during the match. It is also suitable for sports with fewer officials such as floorball, handball, or futsal.
What is the range of Refcom II?
The system has a range of up to approximately 800 meters with line of sight between the units. The range can be affected by obstacles such as buildings, crowds, or other objects blocking the signal. For best performance, the radios should be worn on the arm with the back of the unit facing the body, and it should not be placed behind the back or in a belt.
How long is the battery life of Refcom II?
A fully charged unit normally has a battery life of at least 12 hours under normal operating conditions. Battery status is automatically announced when you start the radio, with messages such as Battery High, Battery Normal, or Battery Low. Charging is done via USB-C and usually takes less than three hours if the battery is at 0%.
A radio does not connect to the system – what can I do?
First check that all radios are switched on and within range of each other. If a radio has previously been paired, it should connect automatically after startup. If it still does not connect, you can repeat the pairing process. Also make sure that each radio has a unique number in the system and that the headset is properly connected.
I hear weak or unclear audio – what could be the reason?
The most common problem is that the microphone is positioned incorrectly. The microphone should be placed close to the mouth and aimed toward the speech. Also check that the headset sits properly in the ear and that nothing is blocking the earpiece. If the sound is still weak, you can try changing the headset or adjusting the radio volume.
S2 Pro Referee Watch
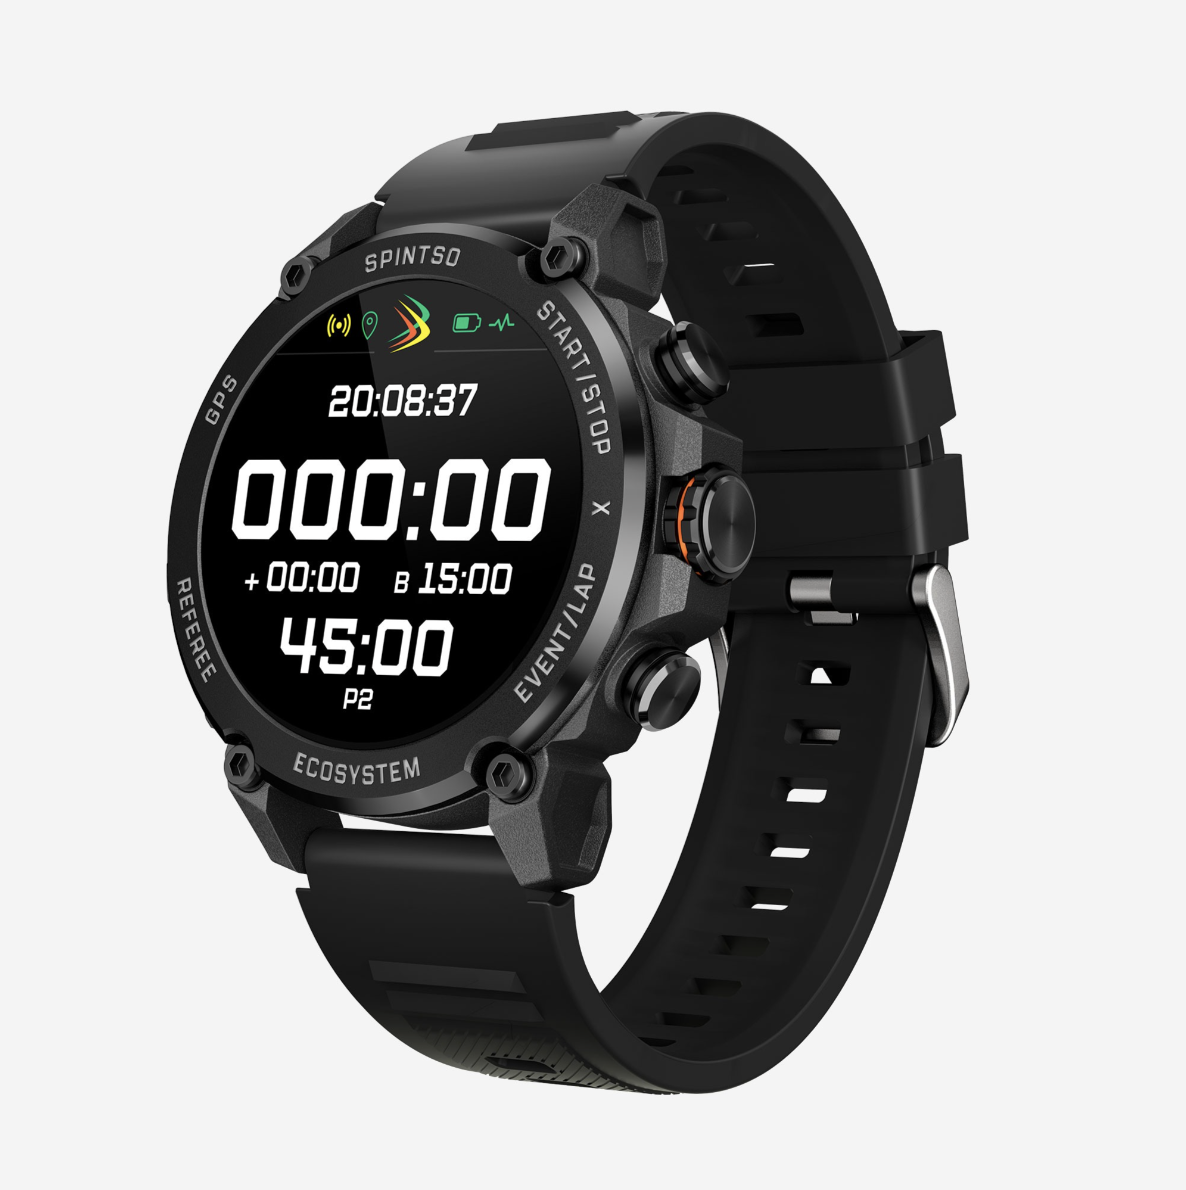
How do I start my S2 Pro watch for the first time?
To start the watch, press and hold the START/STOP button until the Spintso logo appears on the screen. When the watch starts, you will feel a short vibration and hear a beep confirming that it is activated. Before first use, we recommend removing the protective film from the screen and the sensor on the back. It is also a good idea to fully charge the watch before your first match for the best battery life.
How do I charge the S2 Pro watch?
The watch is charged using the included wireless charger. Connect the charging cable to a USB-A port and place the watch on the charging pad so that it is positioned correctly on the charging surface. The display lights up briefly when charging starts and shows the battery status. A full charge takes about a couple of hours. For best results, it is recommended to leave the watch on the charger for about 30 minutes after the battery reaches 100%.
How do I connect the S2 Pro to the Spintso app?
Start by installing the “Spintso Watch” app from the App Store or Google Play. Check that Bluetooth is enabled on both your phone and your watch. Open the app and go to the WATCH tab, then select ADD SPINTSO WATCH. When your S2 Pro appears in the list, select it and confirm the pairing on the watch. The app may also suggest a software update if a new version is available.
What match functions are available in the S2 Pro?
The S2 Pro has several match programs adapted for different sports. These include match watches for football, futsal, field hockey, and rugby. In PRO mode, you can also register match events such as goals, cards, and substitutions directly on the watch. Match settings such as period time, breaks, and indications can be adjusted directly on the watch or via the Spintso app. This allows you to adapt the watch to different rules and levels of play.
How do I start and pause match time?
Match time is started and paused using the START/STOP button. Depending on your settings, it can be activated with a short press, long press, or double press. If the match is paused, the additional time will begin counting up so that you can easily keep track of stoppage time. When the period ends, the watch gives a vibration or sound signal as an indication.
How does GPS work in the S2 Pro?
The S2 Pro can use GPS to record movement patterns and statistics during a match or training session. When GPS is activated, the watch will try to connect to satellites when you start an activity. For faster connection, it is best to stand still in an open area for a few minutes before the match starts. When GPS is locked, the indicator on the watch turns green. GPS data is later shown in the Spintso app together with other activity data.
Can I use the S2 Pro for interval training?
Yes, the watch has a dedicated interval training mode developed for referees’ fitness tests and training. You can set the number of sets, training periods, and rest periods directly on the watch or via the app. During training, the watch gives vibrations or sounds when it is time to switch between running and resting. This function is often used for tests such as FIFA or UEFA intervals.
SwiftFit Headset
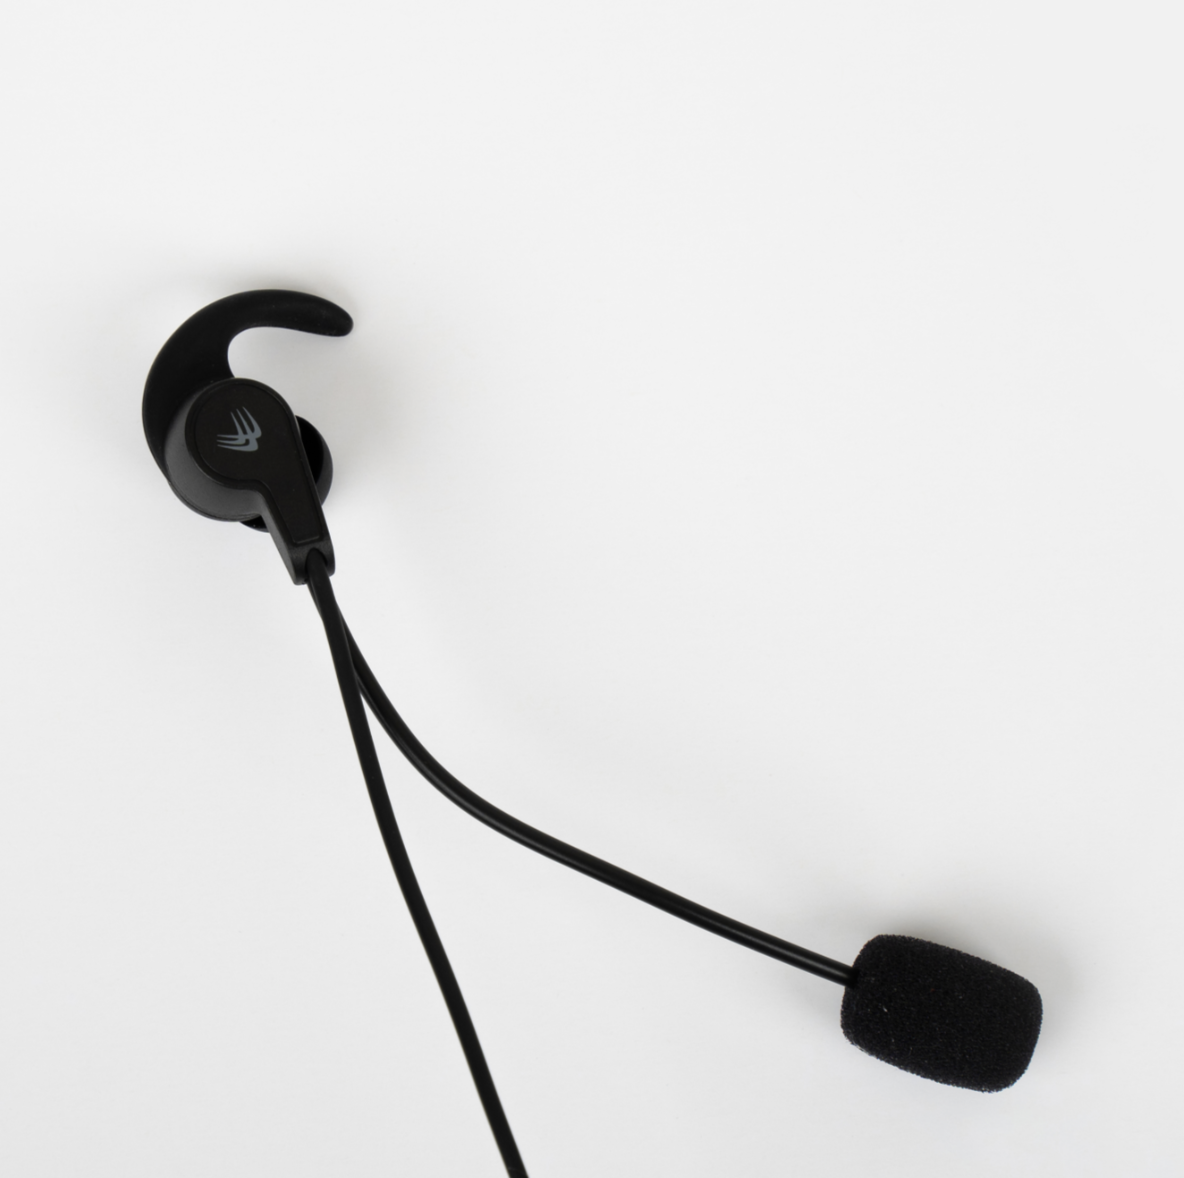
Is the SwiftFit Headset compatible with Refcom II?
Yes, the SwiftFit Headset is developed for use with Refcom II and is a good choice if you want a simple and practical headset for your communication system. It is used by referees in several different sports and is designed to be easy to get started with. If you simply want to plug in and go, SwiftFit is a practical option for many referees.
How can I make the headset fit better in my ear?
The most important thing is to try the correct adapter size and adjust the headset until it feels stable and comfortable. SwiftFit is designed to be quick and easy to put in place, but the fit may still need some fine-tuning from person to person. If the headset feels loose or uncomfortable, it is often the adapter that needs to be changed. Take a few minutes before the match to test that everything fits properly.
I can hear sound, but it does not sound quite right – what should I check?
Start by checking that the connector is properly plugged into the radio and that the headset is correctly positioned in the ear. If the sound feels weak or unclear, it may also be because the earpiece is not seated tightly enough or because the radio volume needs to be adjusted. Also check that no dirt or dust is blocking the sound outlet. If the problem continues, you can try another headset for comparison.
How should I position the microphone to be heard more clearly?
The microphone should be close to the mouth, but not directly in front of it. A good starting point is to place it near the cheek so that your voice is picked up clearly without too much breathing noise coming through. If others in the team feel that you sound weak or unclear, microphone placement is often the first thing you should adjust. Small changes can make a big difference.
What is normally included with the SwiftFit Headset?
The SwiftFit Headset is normally delivered with accessories that help you get a better fit and easier use, such as adapters and a clip. This makes it easier to adapt the headset to how it fits best for you and how you want to wear the cable during the match. The exact contents may vary depending on whether you buy the headset separately or as part of a set, but adapters and a clip are common accessories.
SwiftFit Pro Headset
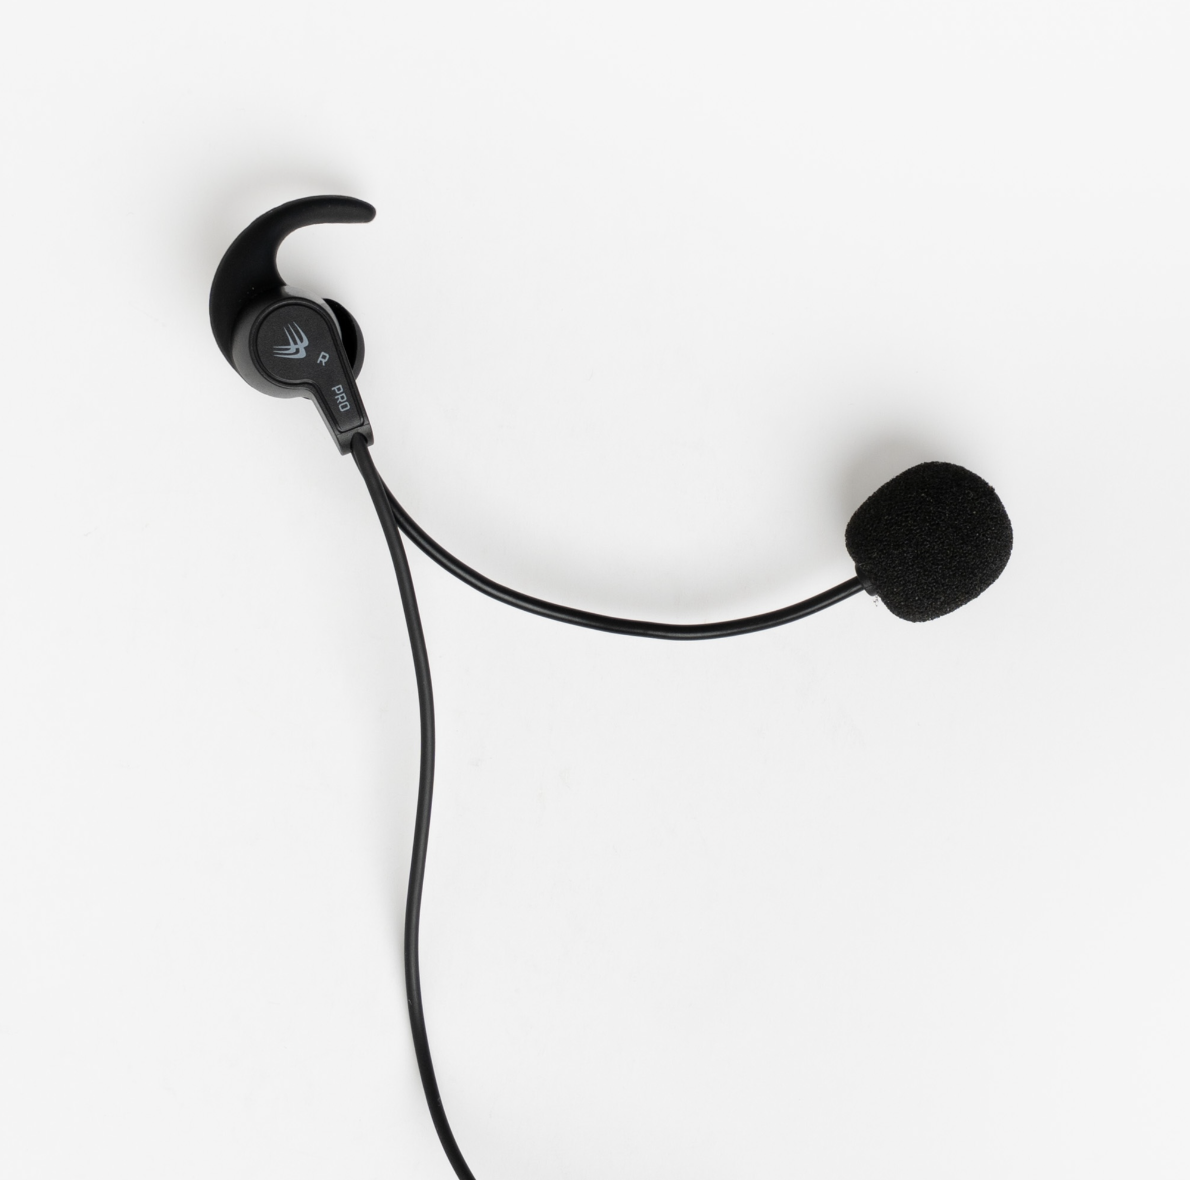
What is the difference between SwiftFit and SwiftFit Pro?
SwiftFit Pro is a more advanced version of the SwiftFit headset and is developed for users who want better sound quality and more stable communication during the match. The microphone and audio pickup are improved to reduce background noise from crowds and wind. This often makes communication between referees feel clearer, especially in noisy environments.
Is SwiftFit Pro compatible with Refcom II and Refcom II Pro?
Yes, SwiftFit Pro works with both Refcom II and Refcom II Pro. The headset uses the same type of connection and can easily be connected directly to the radio. This makes it a good upgrade option if you already use a Refcom system but want to improve sound quality.
How should I position the microphone for the best sound?
For the best sound, the microphone should be placed close to the mouth, but not directly in front of it. A good position is along the cheek, aimed toward the mouth. In this way, your voice is picked up clearly while breathing noises are minimized. If your colleagues feel that you sound weak or unclear, microphone placement is often the first thing you should adjust.
I can hear the others, but they cannot hear me – what could be wrong?
Start by checking that the headset connector is properly inserted into the radio. Also check that the microphone is not damaged or incorrectly positioned. If the problem continues, you can test the headset in another radio to rule out the possibility that the issue is with the unit itself. In many cases, it is simply a loose connection or microphone placement issue.
How can I improve the fit during the match?
SwiftFit Pro is designed to be stable and comfortable even during movement. Adjust the headset position and use the correct adapter size so that it fits properly in the ear. When the headset fits correctly, the risk of the sound being affected by movement or wind is reduced. It is a good idea to take a few minutes before the match to test the fit and adjust it if needed.